The film:

The reason:
When life is very hard, sometimes cake is the best answer. This New York deli treat might have come in handy for nine year old Oskar Schell; (explorer, jeweler, inventor, tambourine player and vegan pacifist). He’s mourning his Dad who passed when the towers fell. To keep his memory alive he’s on a quest across five boroughs to discover the truth about a key that belonged to someone named Black.
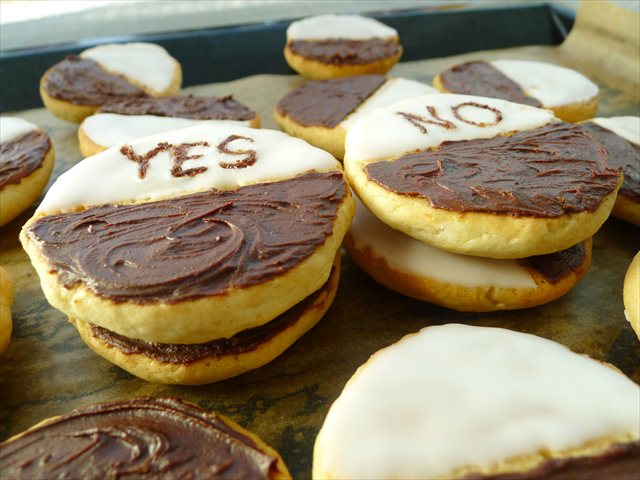
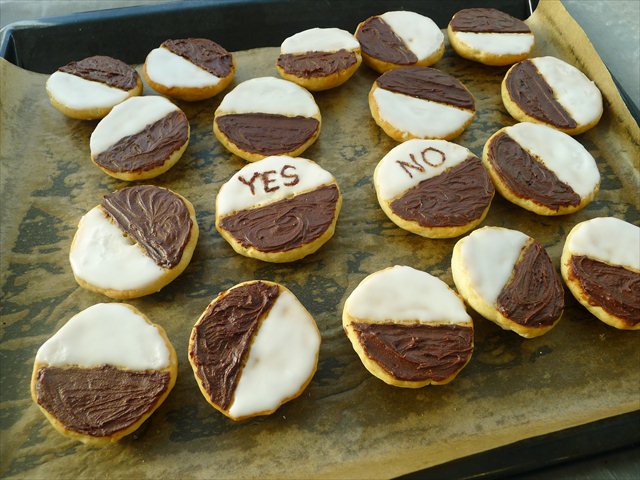
Unlike these cookies, Oskar’s about to discover that life isn’t always black and white. But if you’re craving some dichotomy in your day you could always make like ‘The Renter’ and tattoo ‘yes’ and ‘no’ on your palms. Then again, you could just have it inscribed on your cookie (don’t worry Oskar these ones are vegan friendly).
Vegan friendly Black and White Cookies
Makes 18 cookies
Equipment
2 baking trays. Baking paper. Microplane. Medium bowl. Paintbrush. Heat proof bowl. Spatula. Small spoon.
Shopping/foraging
Cookies:

½ cup soy milk
1 tsp lemon juice
¼ cup canola oil
½ cup caster sugar
½ tsp vanilla extract
1 ¼ cups self raising flour
1 tbsp cornflour/cornstarch
1 tsp lemon zest
Pinch of salt
Icing:
1 cup icing/confectioners sugar
3 tbsp cocoa powder
2 tsp vegetable/canola/sunflower oil
1 tablespoon of hot water
Here’s how we roll
1. Preheat oven to 350 F/ 180 C degrees. Line two baking sheets with baking paper.

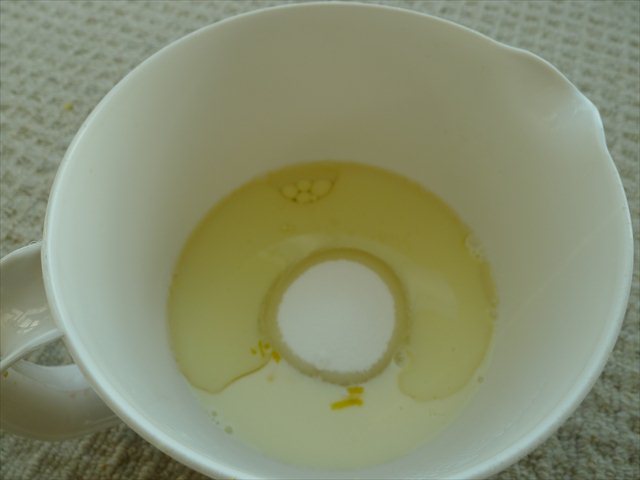
2. Take a medium bowl and mix together the lemon juice and milk and let them get to know each other in the bowl for two minutes. Add the zest, sugar and oil and whisk well.
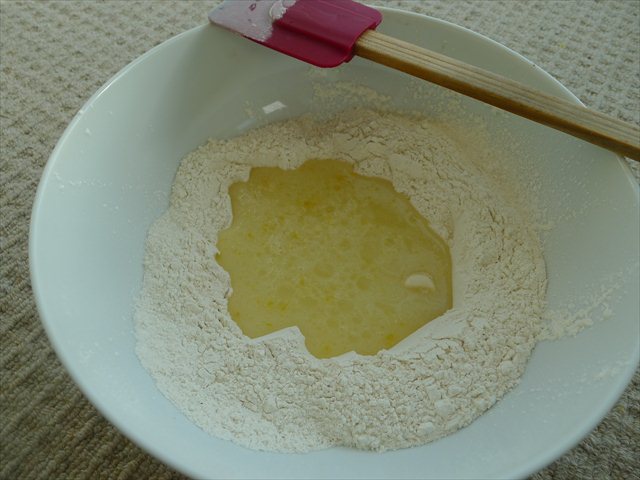
3. In another bowl sift together the self raising flour, salt and cornflour/cornstarch. Create a well in the centre and pour in the oil and milk mix.
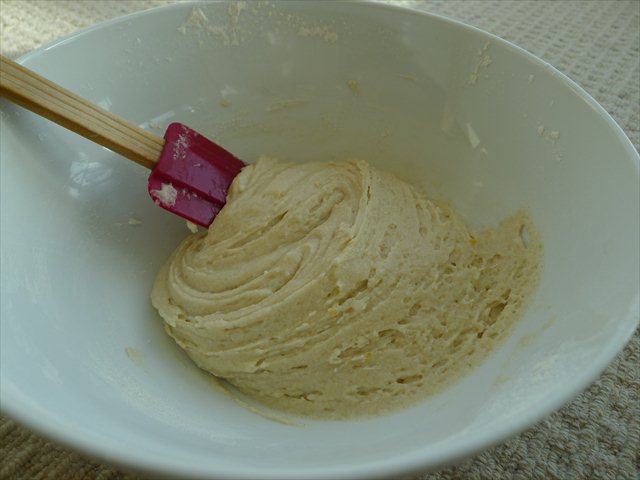
4. Stir well until all of the lumps have been worked out.
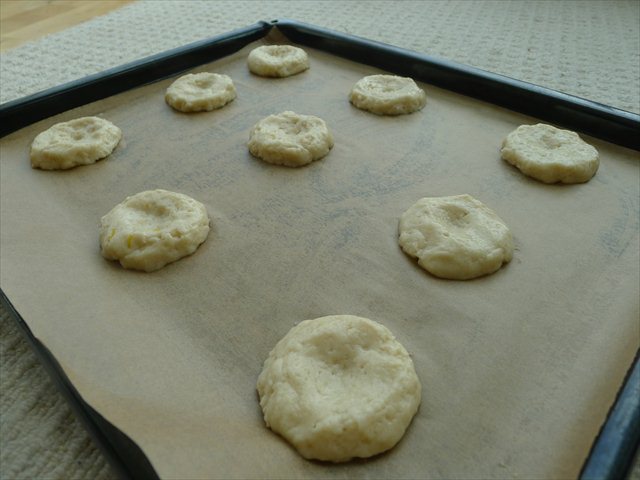
5. Using a tablespoon to portion out the cookies. If you want to get really precise about it, weigh the batter so each cookie is 27 grams. Transfer to the baking tray and form circles. Depress the centres slightly with your thumb so the cookies don’t rise too much. Leave 2 inches between the cookies for them to spread (three rows of three on each tray works well). Bake for 17 minutes until the edges turn a light brown.
6. Remove the cookies and let them cool for 2 minutes on the trays.
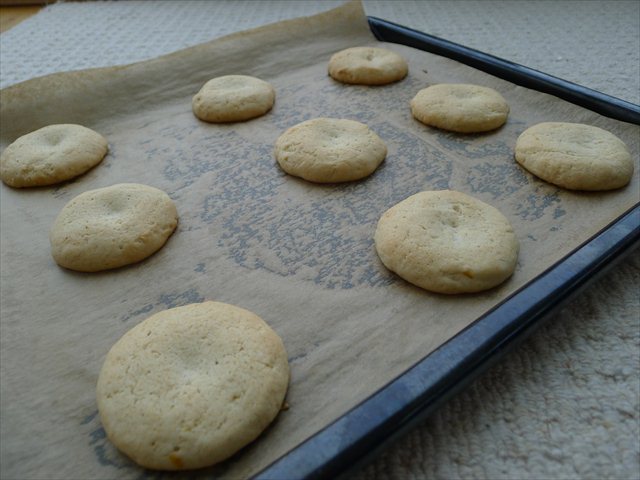
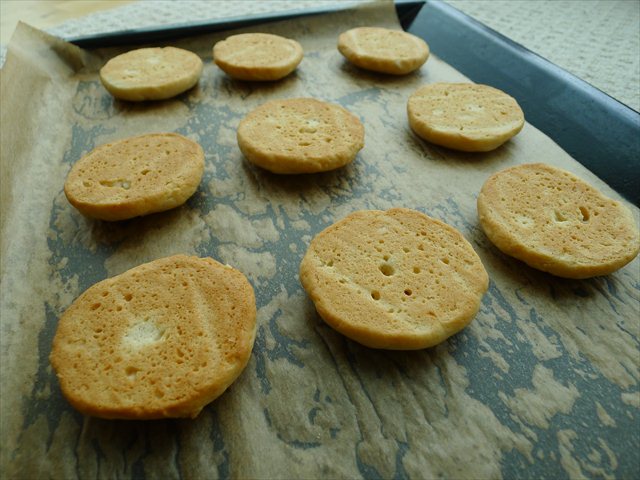
7. Then turn them upside down to cool.
8. To make the white icing put the icing sugar/confectioners sugar in a heat proof bowl. Add a tablespoon of hot water and whisk until you have a glossy paste.
9. Spread an even layer of white icing over half of the cookie. Using a small clean paintbrush helps.
10. Add 3 tablespoons of cocoa powder to the remaining icing to make it dark. Add 2 teaspoons of vegetable oil to give it a sheen. Paint the other half of the cookies and then leave them to dry.
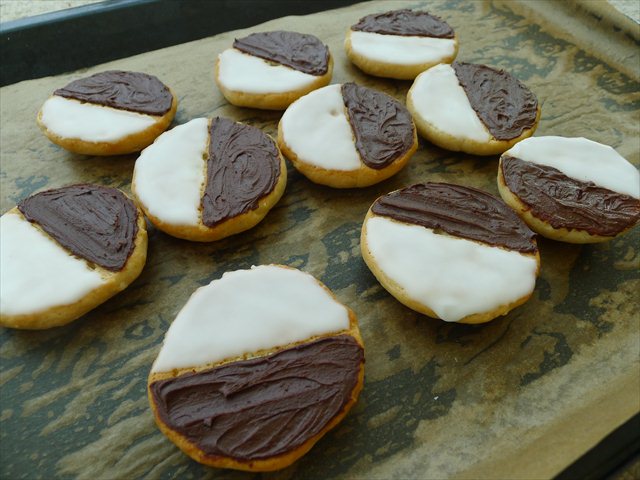
11. If you fancy, use a toothpick to write ‘Yes’ and ‘No’ on the white side of the cookies with the black icing.
Best eaten on the day of making, but you can make them ahead and store in an airtight container in a single layer.

I'm about to watch that film…it sounds like it's an inspiring one from this post!
Oh what a sweet idea – I love black and white cookies – though have never made them before. I hope you enjoyed your Oscar party!